
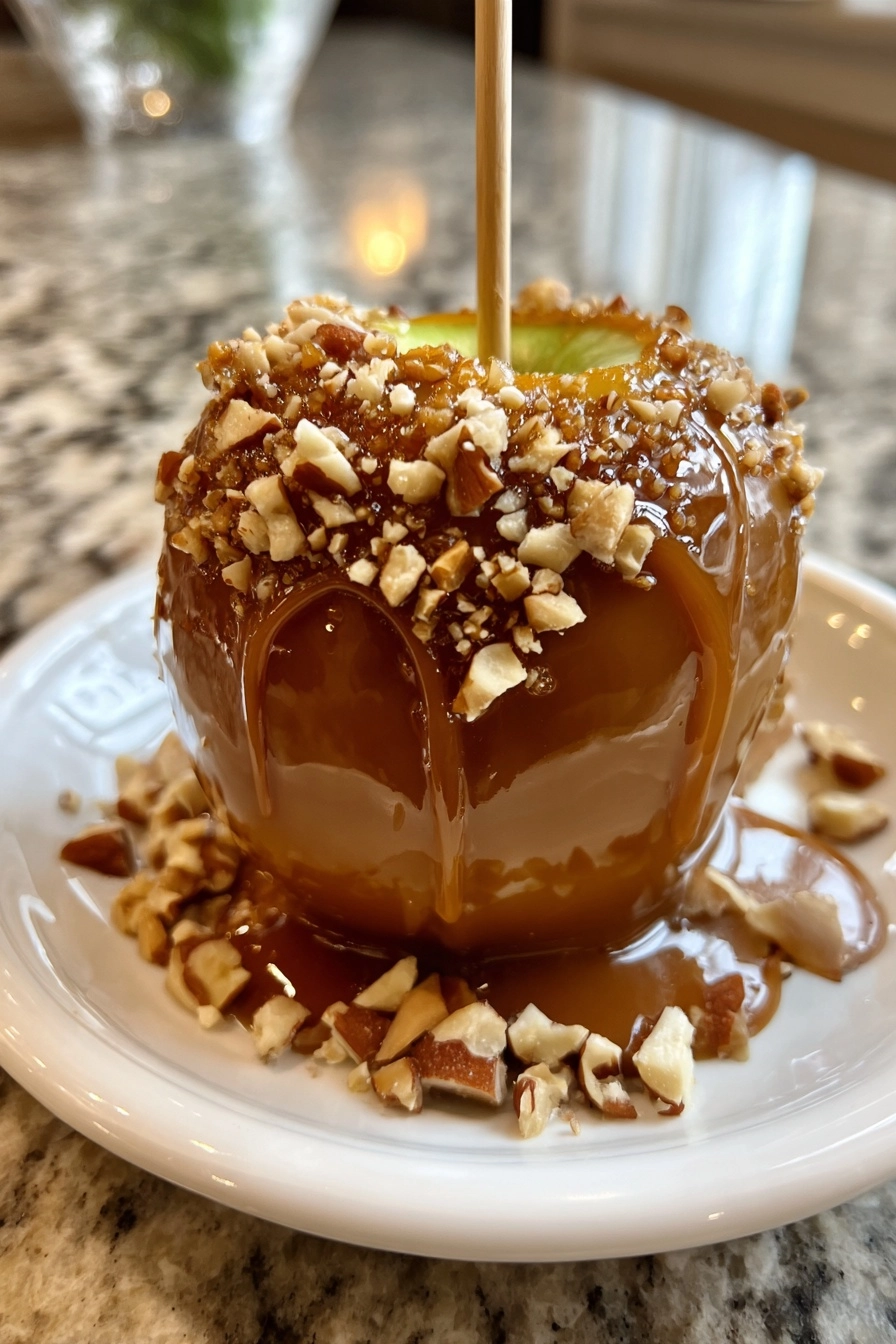
Gluten Free Caramel Apple Bars
As a busy mom, I know how precious time can be, especially when it comes to whipping up something delicious. That’s why I’m excited to share my recipe for gluten free caramel apple bars! These bars are not just a treat; they’re a quick solution for those hectic days when you want to impress your loved ones without spending hours in the kitchen. With the sweet, gooey caramel and tender apples nestled in a hearty oat crust, these bars are sure to become a family favorite. Trust me, they’ll disappear faster than you can say “gluten free!”
Why You’ll Love This Gluten Free Caramel Apple Bars
These gluten free caramel apple bars are a delightful blend of flavors and textures that everyone will adore. They’re incredibly easy to make, taking just 15 minutes of prep time. Plus, they bake up in a snap! The combination of sweet apples and rich caramel creates a taste sensation that’s hard to resist. Whether for a family gathering or a cozy night in, these bars are sure to bring smiles all around.
Ingredients for Gluten Free Caramel Apple Bars
Gathering the right ingredients is the first step to creating these scrumptious gluten free caramel apple bars. Here’s what you’ll need:
- Gluten-free oats: These provide a hearty base and a chewy texture. Make sure they’re certified gluten-free to avoid cross-contamination.
- Almond flour: This adds a nutty flavor and moisture. If you’re nut-free, you can substitute with sunflower seed flour.
- Brown sugar: It brings a rich sweetness and depth to the bars. You can use coconut sugar for a healthier alternative.
- Unsalted butter: Melted butter binds everything together and adds richness. For a dairy-free option, try coconut oil or vegan butter.
- Salt: Just a pinch enhances all the flavors. Don’t skip it, as it balances the sweetness.
- Cinnamon: This warm spice adds a cozy aroma and flavor. Feel free to experiment with nutmeg or pumpkin spice for a twist.
- Diced apples: Fresh, crisp apples are the star of the show! Choose your favorite variety, like Granny Smith or Honeycrisp, for the best flavor.
- Caramel sauce: This is the gooey goodness that ties everything together. You can use store-bought or make your own for a homemade touch.
For exact measurements, check the bottom of the article where you can find everything listed for easy printing. Happy baking!
How to Make Gluten Free Caramel Apple Bars
Now that you have all your ingredients ready, let’s dive into the fun part—making these delicious gluten free caramel apple bars! Follow these simple steps, and you’ll have a delightful treat in no time.
Step 1: Preheat the Oven
First things first, preheat your oven to 350°F (175°C). Preheating is crucial because it ensures even baking. If you skip this step, your bars might end up unevenly cooked. Trust me, you want that golden-brown top!
Step 2: Mix the Dry Ingredients
In a large bowl, combine the gluten-free oats, almond flour, brown sugar, salt, and cinnamon. Stir them together until they’re well mixed. This step is essential because it allows the flavors to blend beautifully. Plus, it makes your kitchen smell amazing!
Step 3: Add the Wet Ingredients
Next, pour in the melted butter. Mix it into the dry ingredients until everything is combined. The melted butter acts like a glue, holding the mixture together. You want a crumbly texture that’s still moist, so don’t overmix!
Step 4: Prepare the Baking Dish
Grab a greased 9×13 inch baking dish. Press half of the oat mixture firmly into the bottom. This will be your crust. Make sure it’s even and compact, so it holds up when you cut the bars later. A sturdy base is key!
Step 5: Layer the Apples
Now, it’s time to layer those diced apples! Spread them evenly over the crust. The apples will add moisture and sweetness, making each bite a burst of flavor. Don’t be shy—use your favorite variety for the best results!
Step 6: Drizzle with Caramel
Here comes the fun part! Drizzle the caramel sauce generously over the apples. You can use a spoon or a squeeze bottle for more control. This gooey goodness will seep into the apples and crust, creating a heavenly combination.
Step 7: Top with Remaining Mixture
Sprinkle the remaining oat mixture on top of the caramel and apples. This will create a lovely crumbly topping. Make sure to cover the apples well, as this will help lock in all that delicious flavor while baking.
Step 8: Bake to Perfection
Pop the dish into your preheated oven and bake for 25-30 minutes. Keep an eye on it! You’ll know it’s done when the top is golden brown and the edges are slightly crisp. A toothpick inserted in the center should come out clean.
Step 9: Cool and Cut
Once baked, remove the dish from the oven and let it cool for a bit. This step is crucial! If you cut the bars too soon, they might crumble. Allow them to cool completely before slicing into bars. Patience pays off!
Tips for Success
- Use fresh apples for the best flavor and texture.
- Don’t skip the cooling time; it helps the bars set properly.
- For a fun twist, add chopped nuts or chocolate chips to the mixture.
- Store leftovers in an airtight container to keep them fresh.
- Experiment with different spices like nutmeg for a unique flavor.
Equipment Needed
- 9×13 inch baking dish: A standard size for even baking. You can use a glass or metal dish.
- Mixing bowls: A large bowl for combining ingredients. Any size will do, just make sure it’s sturdy.
- Measuring cups and spoons: Essential for accurate ingredient amounts. A kitchen scale can also work.
- Spatula: Perfect for mixing and spreading the mixture evenly.
- Oven mitts: Safety first! Protect your hands when handling hot dishes.
Variations
- For a nut-free version, substitute almond flour with sunflower seed flour or oat flour.
- Add a handful of chopped walnuts or pecans for a delightful crunch and extra flavor.
- Swap out the caramel sauce for a homemade date caramel for a healthier twist.
- Incorporate dried cranberries or raisins for a chewy texture and a pop of color.
- Try using different spices like ginger or allspice for a unique flavor profile.
Serving Suggestions for Gluten Free Caramel Apple Bars
- Pair these bars with a scoop of vanilla ice cream for a delightful dessert.
- Serve warm with a drizzle of extra caramel sauce for an indulgent treat.
- Enjoy with a cup of hot apple cider for a cozy fall vibe.
- Garnish with a sprinkle of cinnamon for an extra touch of flavor.
- Cut into smaller squares for a perfect bite-sized snack at gatherings.
FAQs about Gluten Free Caramel Apple Bars
Can I make these gluten free caramel apple bars ahead of time?
Absolutely! These bars can be made a day in advance. Just store them in an airtight container at room temperature. They’ll taste just as delicious the next day!
What can I use instead of caramel sauce?
If you want a healthier option, try making a homemade date caramel. Blend pitted dates with a bit of water until smooth. It’s a fantastic alternative that adds natural sweetness!
How do I store leftovers?
Store any leftover gluten free caramel apple bars in an airtight container. They’ll stay fresh for up to three days. Just make sure to keep them in a cool, dry place.
Can I freeze these bars?
Yes, you can freeze them! Wrap individual bars in plastic wrap and place them in a freezer-safe bag. They’ll keep well for up to three months. Just thaw them in the fridge before enjoying!
What type of apples work best for this recipe?
I recommend using tart apples like Granny Smith or sweet varieties like Honeycrisp. They hold their shape well and provide a lovely contrast to the sweet caramel.
Summarizing the Joy of Gluten Free Caramel Apple Bars
There’s something truly magical about baking gluten free caramel apple bars. The aroma of warm apples and cinnamon fills the kitchen, wrapping you in a cozy embrace. Each bite is a delightful blend of chewy oats, sweet caramel, and tender apples that brings smiles to faces young and old. Whether you’re sharing them at a family gathering or enjoying a quiet moment with a cup of tea, these bars create memories that linger long after the last crumb is gone. So, roll up your sleeves and let the joy of baking fill your home with love and laughter!
PrintGluten Free Caramel Apple Bars that Everyone Will Love!

Delicious gluten-free caramel apple bars that are perfect for any occasion.
- Prep Time: 15 minutes
- Cook Time: 30 minutes
- Total Time: 45 minutes
- Yield: 12 bars 1x
- Category: Dessert
- Method: Baking
- Cuisine: American
- Diet: Gluten Free
Ingredients
- 2 cups gluten-free oats
- 1 cup almond flour
- 1/2 cup brown sugar
- 1/2 cup unsalted butter, melted
- 1/2 teaspoon salt
- 1 teaspoon cinnamon
- 2 cups diced apples
- 1 cup caramel sauce
Instructions
- Preheat the oven to 350°F (175°C).
- In a large bowl, mix together the oats, almond flour, brown sugar, melted butter, salt, and cinnamon until well combined.
- Press half of the mixture into the bottom of a greased 9×13 inch baking dish.
- Spread the diced apples evenly over the crust.
- Drizzle the caramel sauce over the apples.
- Sprinkle the remaining oat mixture on top of the caramel and apples.
- Bake for 25-30 minutes or until the top is golden brown.
- Allow to cool before cutting into bars.
Notes
- For a richer flavor, use brown butter instead of regular melted butter.
- Feel free to add nuts or chocolate chips for extra texture.
- Store leftovers in an airtight container for up to 3 days.
Nutrition
- Serving Size: 1 bar
- Calories: 200
- Sugar: 15g
- Sodium: 150mg
- Fat: 8g
- Saturated Fat: 4g
- Unsaturated Fat: 3g
- Trans Fat: 0g
- Carbohydrates: 30g
- Fiber: 2g
- Protein: 3g
- Cholesterol: 20mg