
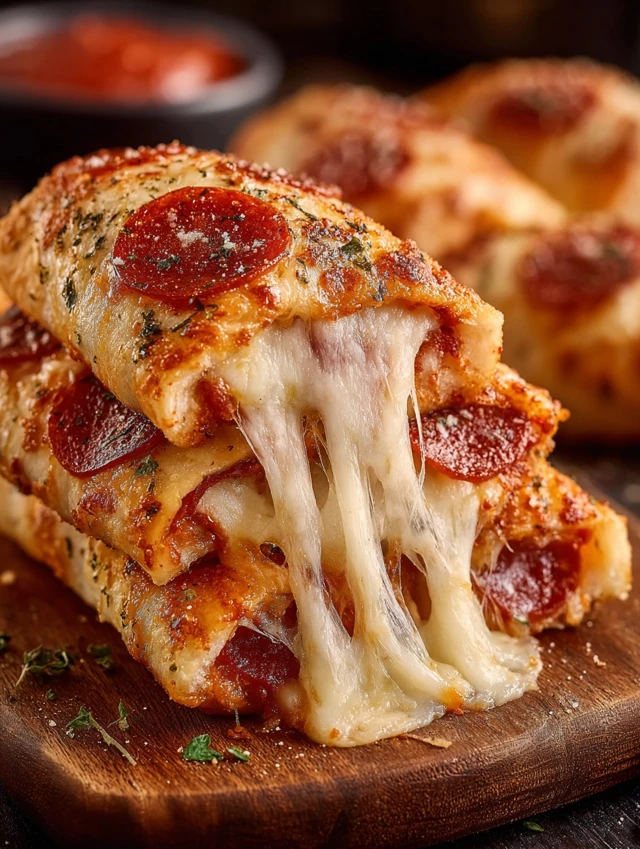
As a busy mom, I know how challenging it can be to whip up something delicious that everyone will love. That’s where my Stuffed Crust Pizza Snacks come in! These little bites of joy are not only easy to make, but they also pack a cheesy punch that will have your family begging for more. Whether it’s a quick after-school snack or a fun appetizer for game night, these treats are sure to impress. Plus, they’re perfect for those days when you need a little comfort food to lift your spirits!
Why You’ll Love This Stuffed Crust Pizza Snacks
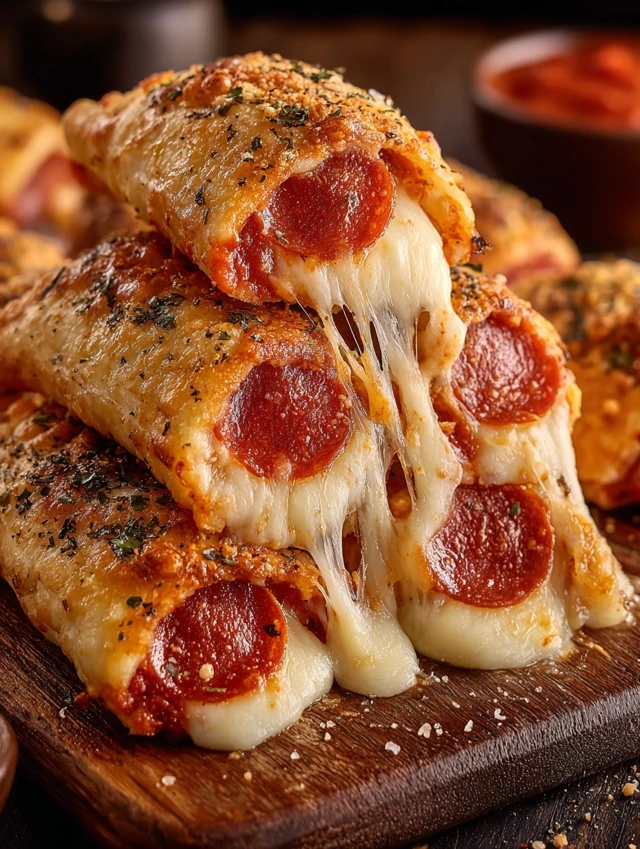
These Stuffed Crust Pizza Snacks are a game-changer for busy days! They come together in just about 30 minutes, making them a quick solution for hungry kids or unexpected guests. The combination of gooey mozzarella and savory pepperoni wrapped in warm, fluffy dough is simply irresistible. Plus, you can customize them to suit your family’s tastes, ensuring everyone leaves the table happy and satisfied!
Ingredients for Stuffed Crust Pizza Snacks
Gathering the right ingredients is key to making these Stuffed Crust Pizza Snacks a hit! Here’s what you’ll need:
- Low-moisture part-skim mozzarella string cheese: These cheesy sticks are the star of the show, providing that gooey, melty goodness we all crave.
- Refrigerated pizza dough: This convenient option saves time and effort, giving you a perfect base for your snacks. You can find it in the refrigerated section of your grocery store.
- Unsalted butter: Melted butter adds richness and helps the crust achieve that golden-brown color. Unsalted is best, so you can control the saltiness.
- Dried oregano: This herb brings a classic Italian flavor to your snacks, making them taste like they came straight from a pizzeria.
- Garlic powder: A sprinkle of garlic powder adds a savory depth that elevates the overall flavor profile.
- Finely grated parmesan cheese: This cheese adds a nutty, salty kick that complements the mozzarella beautifully.
- Regular pepperoni: These slices add a savory, slightly spicy flavor that pairs perfectly with the cheese. Feel free to swap for turkey pepperoni for a lighter option!
- Pizza sauce: While optional, a side of pizza sauce for dipping can take your snacks to the next level. You can use store-bought or homemade!

How to Make Stuffed Crust Pizza Snacks
Making Stuffed Crust Pizza Snacks is a fun and straightforward process! Follow these simple steps, and you’ll have a delicious treat ready in no time. Let’s dive in!
Step 1: Preheat the Oven
First things first, preheat your oven according to the pizza dough package instructions. Preheating is crucial because it ensures that your snacks cook evenly. A hot oven helps the crust rise beautifully and become golden brown, while the cheese melts to perfection. Trust me, you don’t want to skip this step!
Step 2: Roll Out the Dough
Next, roll out the refrigerated pizza dough on a floured surface. Aim for an even thickness, about ¼ inch. If the dough sticks, sprinkle a little more flour on your surface and the dough itself. This will help you avoid any sticky situations. Plus, a well-rolled dough makes for a better stuffed crust!
Step 3: Prepare the Stuffed Crust
Now comes the fun part! Place the mozzarella sticks along the edges of the rolled-out dough. Make sure to leave enough space to fold the dough over the cheese. Gently fold the dough over the cheese sticks, pressing down to seal the edges. This creates a delightful stuffed crust that will ooze cheesy goodness when baked!
Step 4: Mix the Butter Mixture
In a small bowl, mix the melted butter, dried oregano, garlic powder, and finely grated parmesan cheese. This buttery blend adds flavor and richness to your crust. The oregano gives it that classic Italian touch, while the garlic powder enhances the overall taste. It’s a simple mixture that makes a big difference!
Step 5: Brush the Crust
Using a pastry brush, generously brush the butter mixture over the stuffed crust. This step not only adds flavor but also helps achieve that beautiful golden color as it bakes. Plus, it makes the crust extra delicious and aromatic. Your kitchen will smell heavenly!
Step 6: Add Toppings
Now it’s time to add the pepperoni slices! Arrange them evenly over the top of the pizza. Feel free to get creative with your toppings! You can layer them for a more substantial bite or spread them out for a lighter touch. Either way, they’ll add a savory kick to your snacks.
Step 7: Bake the Snacks
Finally, place your stuffed crust pizza snacks in the preheated oven. Bake until the crust is golden brown and the cheese is melted, usually about 15-20 minutes. Keep an eye on them, as oven times can vary. When they’re done, let them cool for a few minutes before serving. You’ll want to savor every cheesy bite!
PrintStuffed Crust Pizza Snacks

Stuffed Crust Pizza Snacks are a delightful and easy-to-make treat that combines the cheesy goodness of mozzarella with the savory flavors of pepperoni, all wrapped in a delicious pizza dough.
- Prep Time: 15 minutes
- Cook Time: 15-20 minutes
- Total Time: 30-35 minutes
- Yield: 12 snacks 1x
- Category: Appetizer
- Method: Baking
- Cuisine: Italian
- Diet: Vegetarian
Ingredients
- 8 sticks low-moisture part-skim mozzarella string cheese
- 1 roll (400 grams) refrigerated pizza dough
- 4 tablespoons unsalted butter, melted
- 1 teaspoon dried oregano
- 1/2 teaspoon garlic powder
- 2 tablespoons finely grated parmesan cheese
- 24 slices regular pepperoni
- Pizza sauce, for serving (optional)
Instructions
- Preheat your oven according to the pizza dough package instructions.
- Roll out the refrigerated pizza dough on a floured surface.
- Place the mozzarella sticks along the edges of the dough.
- Fold the dough over the cheese sticks to create a stuffed crust.
- In a small bowl, mix the melted butter, oregano, garlic powder, and parmesan cheese.
- Brush the butter mixture over the stuffed crust.
- Top the pizza with pepperoni slices.
- Bake in the preheated oven until the crust is golden brown and the cheese is melted.
- Serve with pizza sauce if desired.
Notes
- Feel free to customize the toppings to your liking.
- For a spicier version, add jalapeños or red pepper flakes.
- These snacks can be made ahead of time and frozen for later use.
Nutrition
- Serving Size: 1 snack
- Calories: 150
- Sugar: 1g
- Sodium: 300mg
- Fat: 9g
- Saturated Fat: 5g
- Unsaturated Fat: 3g
- Trans Fat: 0g
- Carbohydrates: 12g
- Fiber: 1g
- Protein: 6g
- Cholesterol: 20mg
Tips for Success
- Use a pizza stone for an extra crispy crust.
- Let the dough sit at room temperature for 10 minutes before rolling to make it easier to work with.
- Experiment with different cheeses like cheddar or pepper jack for a flavor twist.
- Don’t overcrowd the toppings; less is more for even cooking.
- For a fun twist, try adding fresh herbs like basil or spinach!
Equipment Needed
- Baking sheet: A standard baking sheet works perfectly. If you have a pizza stone, it can enhance the crust’s crispiness.
- Rolling pin: Essential for rolling out the dough. A wine bottle can serve as a fun alternative!
- Pastry brush: Great for applying the butter mixture. A clean paintbrush can do the trick in a pinch!
Variations
- Veggie Delight: Add bell peppers, mushrooms, or spinach for a fresh twist. These veggies not only add flavor but also boost nutrition!
- Spicy Kick: Incorporate jalapeños or crushed red pepper flakes for a spicy version that will tantalize your taste buds.
- Cheesy Explosion: Mix in different cheeses like cheddar, gouda, or pepper jack for a unique flavor profile that cheese lovers will adore.
- Meat Lovers: Add cooked sausage or bacon along with the pepperoni for a heartier snack that satisfies meat cravings.
- Gluten-Free Option: Use gluten-free pizza dough to make these snacks suitable for those with dietary restrictions.
Serving Suggestions for Stuffed Crust Pizza Snacks
- Pair with a fresh garden salad for a balanced meal.
- Serve with a side of marinara or ranch dressing for dipping.
- Complement with a light sparkling water or iced tea.
- For a fun presentation, arrange snacks on a colorful platter.
- Add fresh basil leaves for a pop of color and flavor!
FAQs about Stuffed Crust Pizza Snacks
Got questions about these delightful Stuffed Crust Pizza Snacks? I’ve got you covered! Here are some common queries that might pop up while you’re whipping up this tasty treat.
Can I make these snacks ahead of time?
Absolutely! You can prepare the Stuffed Crust Pizza Snacks and freeze them before baking. Just wrap them tightly in plastic wrap and store them in an airtight container. When you’re ready to enjoy, bake them straight from the freezer, adding a few extra minutes to the cooking time.
What can I use instead of pepperoni?
If pepperoni isn’t your thing, feel free to swap it out! You can use turkey pepperoni for a lighter option, or even diced ham, cooked sausage, or veggies for a vegetarian twist. The beauty of these snacks is their versatility!
How do I store leftovers?
Leftover Stuffed Crust Pizza Snacks can be stored in an airtight container in the fridge for up to three days. Reheat them in the oven or microwave for a quick snack that tastes just as good as fresh!
Can I customize the cheese?
Definitely! While mozzarella is a classic choice, you can mix in other cheeses like cheddar, gouda, or even a spicy pepper jack for a flavor explosion. Get creative and make it your own!
What’s the best way to serve these snacks?
These snacks are perfect for dipping! Serve them with marinara sauce, ranch dressing, or even a spicy aioli for an extra kick. They make a fantastic appetizer for parties or a fun family movie night!
Final Thoughts
Creating Stuffed Crust Pizza Snacks is more than just cooking; it’s about bringing joy to your family and making memories together. The delightful aroma wafting through your kitchen will have everyone gathering around, eager to dig in. These snacks are perfect for busy days, spontaneous gatherings, or cozy family nights. Plus, the best part? You can customize them to fit your family’s tastes! So, roll up your sleeves, embrace the mess, and enjoy the deliciousness that comes from your kitchen. Trust me, these little bites of happiness will become a cherished favorite in no time!