
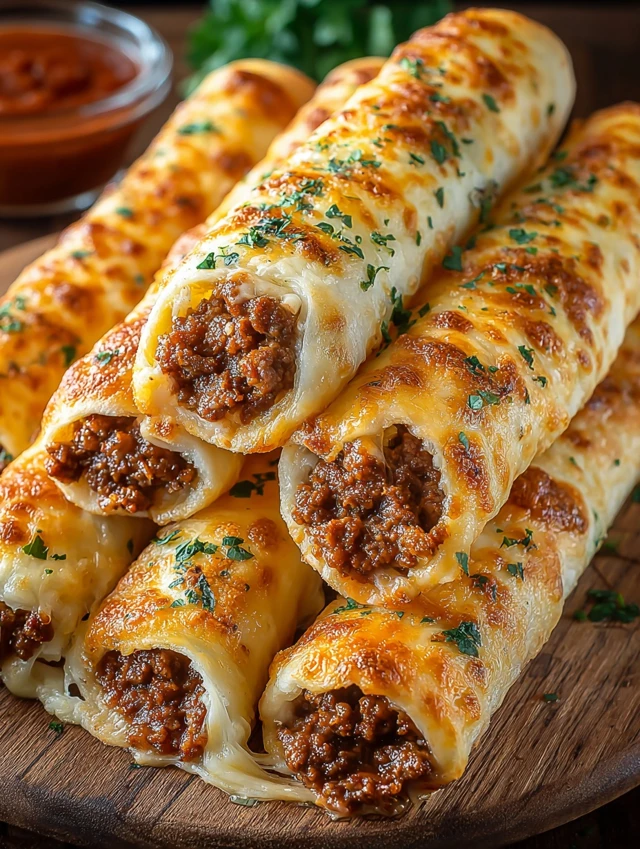
As a busy mom, I know how challenging it can be to whip up something delicious that everyone will love. That’s where my Cheesy Taco Breadsticks Delight comes in! This recipe is a lifesaver for those hectic weeknights when you want to impress your family without spending hours in the kitchen. With its gooey cheese, savory taco flavors, and crispy dough, it’s a snack that brings smiles all around. Plus, it’s quick and easy to make, making it the perfect solution for a busy day or a fun family gathering!
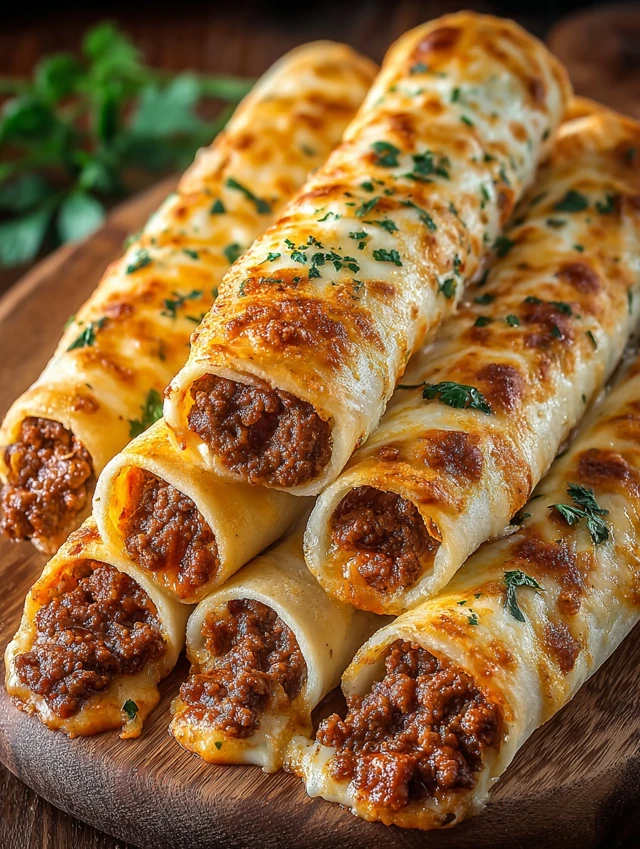
Why You’ll Love This Cheesy Taco Breadsticks Delight
This Cheesy Taco Breadsticks Delight is not just a snack; it’s a game-changer! It’s incredibly easy to make, taking only about 35 minutes from start to finish. The flavors are a delightful explosion of cheesy goodness and zesty taco seasoning that will have your family asking for seconds. Plus, it’s a versatile dish that can be customized to suit everyone’s tastes, making it a hit for both kids and adults!
Ingredients for Cheesy Taco Breadsticks Delight
Gathering the right ingredients is the first step to creating these mouthwatering Cheesy Taco Breadsticks Delight. Here’s what you’ll need:
- Ground Beef: This is the heart of the dish, providing a savory base. You can substitute with ground turkey or chicken for a lighter option.
- Taco Seasoning Mix: A packet of taco seasoning adds that signature flavor. Feel free to use a homemade blend if you prefer a more personalized touch.
- Refrigerated Pizza Dough: This is the magic that holds everything together. You can use store-bought dough for convenience or make your own if you’re feeling adventurous.
- Colby Jack and Cheddar Cheese Sticks: These gooey cheese sticks are the star of the show! They melt beautifully and add a rich, creamy texture. You can swap them for mozzarella or pepper jack for a spicy kick.
- Unsalted Butter: Brushing the breadsticks with melted butter gives them a golden finish and enhances the flavor. You can use olive oil as a healthier alternative.
- Garlic Powder: This adds a lovely aroma and depth of flavor. Fresh minced garlic works too if you want a more robust taste.
- Dried Parsley: A sprinkle of dried parsley not only adds color but also a hint of freshness. You can use other herbs like oregano or cilantro for a different twist.
For exact measurements, check the bottom of the article where you can find everything listed for easy printing. Now that you have your ingredients ready, let’s dive into the fun part—making these delightful breadsticks!
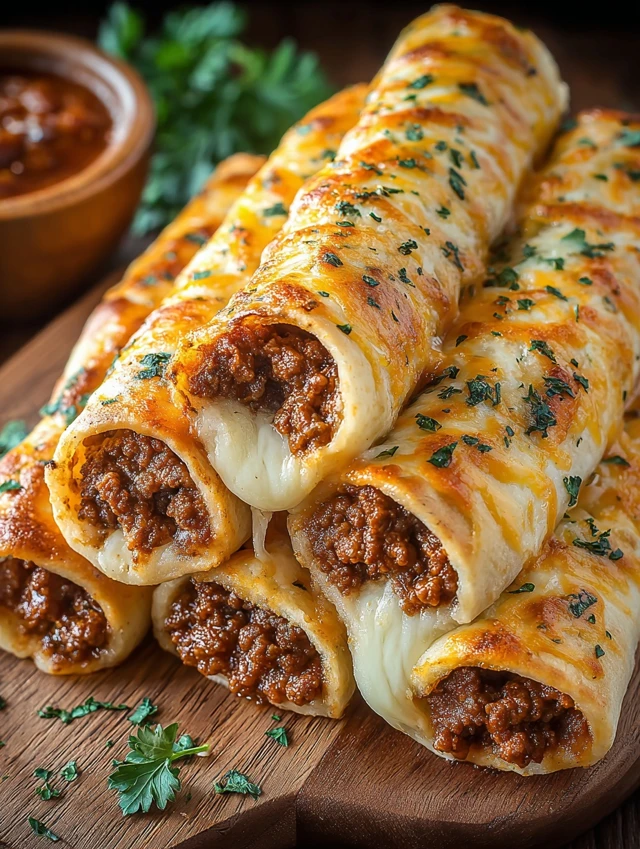
How to Make Cheesy Taco Breadsticks Delight
Now that you have your ingredients ready, let’s get cooking! Making these Cheesy Taco Breadsticks Delight is a fun and straightforward process. Follow these steps, and you’ll have a delicious snack in no time!
Step 1: Preheat the Oven
First things first, preheat your oven according to the pizza dough package instructions. Preheating is crucial because it ensures even cooking. If you skip this step, your breadsticks might end up soggy or unevenly baked. Trust me, no one wants that!
Step 2: Cook the Ground Beef
Next, grab a skillet and cook the ground beef over medium heat. Stir it occasionally until it’s nicely browned. This usually takes about 5-7 minutes. Don’t forget to drain any excess fat afterward. This little step makes your dish healthier and keeps it from being too greasy!
Step 3: Add Taco Seasoning
Once your beef is browned, it’s time to add the taco seasoning. Sprinkle it over the beef and mix well. Follow the package instructions for the best results. This seasoning is what gives your breadsticks that zesty flavor that everyone loves. It’s like a fiesta in your mouth!
Step 4: Prepare the Pizza Dough
Now, let’s roll out the refrigerated pizza dough on a floured surface. Use a rolling pin to flatten it out evenly. Then, cut the dough into strips about 2 inches wide. This is where the magic happens, so take your time to get it right!
Step 5: Assemble the Breadsticks
Time to fill those dough strips! Place a portion of the seasoned beef and a half cheese stick on each strip. Fold the dough over the filling and pinch the edges to seal them tightly. This step is key to keeping all that cheesy goodness inside!
Step 6: Brush with Butter Mixture
In a small bowl, mix the melted butter with garlic powder and dried parsley. Brush this mixture generously over the tops of your breadsticks. This not only adds flavor but also gives them a beautiful golden color when baked. Who doesn’t love a little extra flavor?
Step 7: Bake to Perfection
Place your assembled breadsticks on a baking sheet lined with parchment paper. Bake them in the preheated oven until they’re golden brown, usually about 15-20 minutes. Keep an eye on them, as oven times can vary. You want them to look irresistible!
Step 8: Cool and Serve
Once they’re out of the oven, let your Cheesy Taco Breadsticks Delight cool for a few minutes. This helps the cheese set a bit, making them easier to handle. Serve them warm, and watch your family devour them!
PrintCheesy Taco Breadsticks Delight that Everyone Will Love

Cheesy Taco Breadsticks Delight is a delicious and easy-to-make snack that combines the flavors of taco seasoning, ground beef, and gooey cheese, all wrapped in pizza dough.
- Prep Time: 15 minutes
- Cook Time: 20 minutes
- Total Time: 35 minutes
- Yield: 4 servings 1x
- Category: Appetizer
- Method: Baking
- Cuisine: Mexican
- Diet: Low Calorie
Ingredients
- 450 g ground beef
- 1 packet taco seasoning mix or equivalent homemade blend
- 1 tube (about 400 g) refrigerated pizza dough
- 5 colby jack and cheddar cheese sticks, halved lengthwise
- 4 tablespoons unsalted butter, melted
- 1 teaspoon garlic powder
- 1 teaspoon dried parsley
Instructions
- Preheat the oven according to the pizza dough package instructions.
- In a skillet, cook the ground beef over medium heat until browned. Drain excess fat.
- Add the taco seasoning mix to the beef and follow package instructions for preparation.
- Roll out the refrigerated pizza dough on a floured surface.
- Cut the dough into strips and place a portion of the seasoned beef and a half cheese stick on each strip.
- Fold the dough over the filling and seal the edges.
- Brush the tops with the melted butter mixture, combined with garlic powder and dried parsley.
- Bake in the preheated oven until golden brown, according to the pizza dough package instructions.
- Let cool slightly before serving.
Notes
- Feel free to customize the filling with your favorite taco toppings.
- Serve with salsa or sour cream for dipping.
- These can be made ahead of time and frozen before baking.
Nutrition
- Serving Size: 2 breadsticks
- Calories: 300
- Sugar: 1g
- Sodium: 600mg
- Fat: 18g
- Saturated Fat: 8g
- Unsaturated Fat: 8g
- Trans Fat: 0g
- Carbohydrates: 25g
- Fiber: 1g
- Protein: 15g
- Cholesterol: 50mg
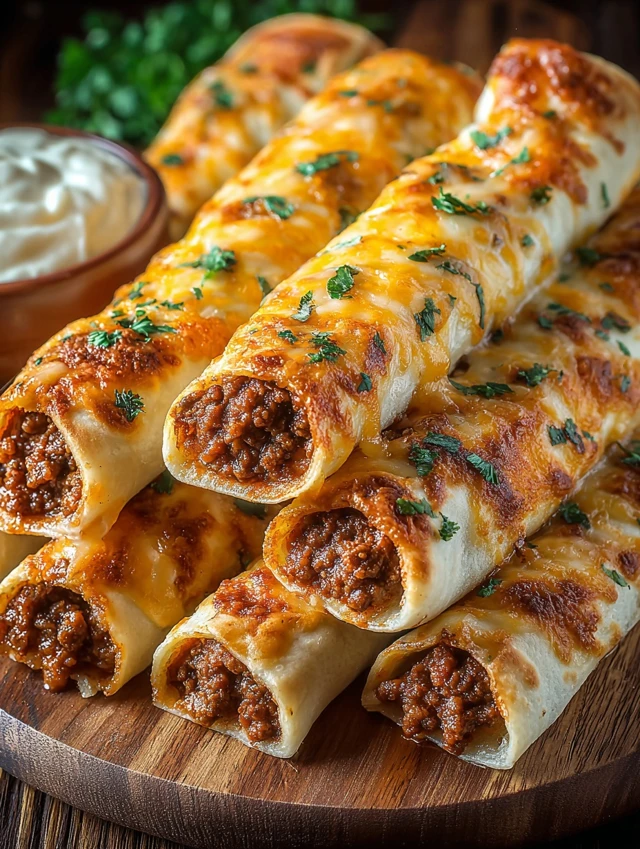
Tips for Success
- Use a non-stick baking sheet or parchment paper to prevent sticking.
- Don’t overfill the dough; a little goes a long way!
- Experiment with different cheeses for unique flavors.
- Let the breadsticks cool slightly before serving to avoid burns.
- Pair with your favorite dipping sauces for an extra kick!
Equipment Needed
- Skillet: A non-stick skillet works best, but any frying pan will do.
- Rolling Pin: If you don’t have one, a wine bottle can serve as a great alternative!
- Baking Sheet: Use a standard baking sheet or a pizza stone for even baking.
- Parchment Paper: This is optional but helps with easy cleanup and prevents sticking.
Variations of Cheesy Taco Breadsticks Delight
- Vegetarian Option: Swap the ground beef for black beans or lentils for a hearty, meat-free version.
- Spicy Kick: Add diced jalapeños or a sprinkle of cayenne pepper to the beef mixture for an extra heat boost.
- Cheese Lovers: Use a mix of cheeses like pepper jack, mozzarella, or even cream cheese for a creamy twist.
- Gluten-Free: Substitute the pizza dough with gluten-free dough or use corn tortillas for a different texture.
- Loaded Toppings: Incorporate toppings like diced tomatoes, olives, or corn into the filling for added flavor and texture.
Serving Suggestions for Cheesy Taco Breadsticks Delight
- Serve with a side of fresh salsa for a zesty dip.
- Pair with sour cream or guacamole for a creamy contrast.
- Offer a crisp green salad to balance the richness of the breadsticks.
- For drinks, consider a refreshing iced tea or a light beer.
- Garnish with fresh cilantro for a pop of color and flavor.
FAQs about Cheesy Taco Breadsticks Delight
As you embark on your culinary adventure with Cheesy Taco Breadsticks Delight, you might have a few questions. Here are some common queries that can help you along the way:
Can I make these breadsticks ahead of time?
Absolutely! You can prepare the breadsticks and freeze them before baking. Just pop them in the oven when you’re ready for a quick snack!
What can I serve with Cheesy Taco Breadsticks?
These delightful breadsticks pair wonderfully with salsa, guacamole, or sour cream. They also go great with a fresh salad for a complete meal!
Can I use a different type of meat?
Yes! Feel free to substitute ground beef with ground turkey, chicken, or even plant-based meat for a vegetarian option. The flavors will still shine through!
How do I store leftovers?
Store any leftover breadsticks in an airtight container in the fridge for up to three days. Reheat them in the oven for the best texture!
Can I customize the filling?
Definitely! Get creative with your fillings. Add your favorite taco toppings like diced peppers, onions, or even corn for a fun twist!
Final Thoughts
Making Cheesy Taco Breadsticks Delight is more than just cooking; it’s about creating joyful moments with your loved ones. The aroma of cheesy goodness wafting through your kitchen is sure to bring everyone together, sparking laughter and conversation. Whether it’s a busy weeknight or a fun family gathering, these breadsticks are a hit every time. Plus, the ease of preparation means you can spend less time in the kitchen and more time enjoying the company of those you cherish. So roll up your sleeves, get cooking, and let the deliciousness unfold!