
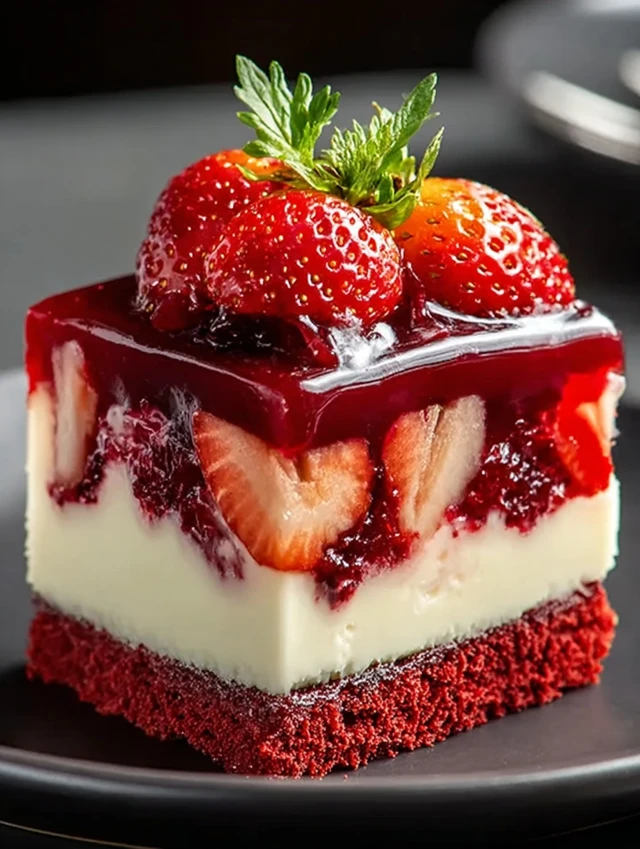
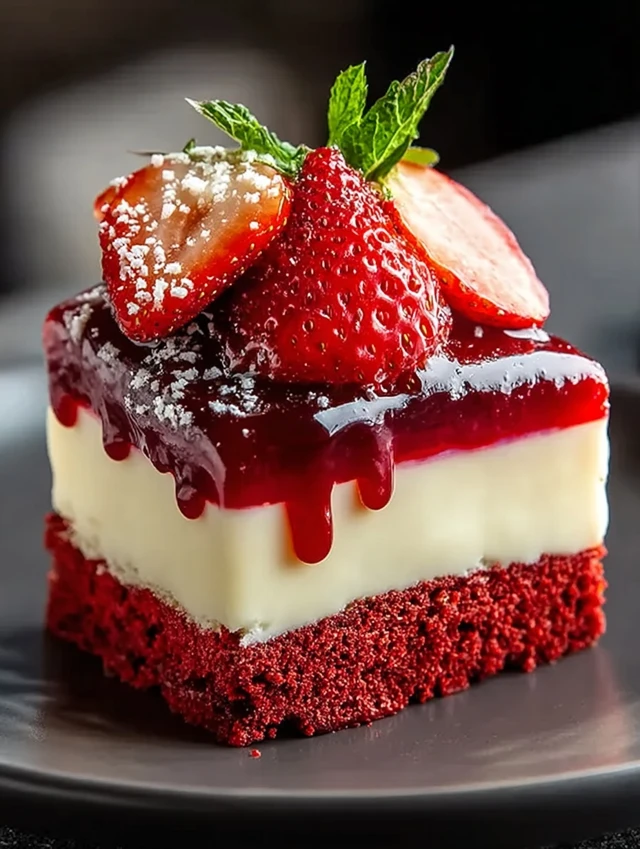
As a busy mom, I know how precious time can be, especially when it comes to whipping up something special in the kitchen. That’s why I absolutely adore this Red Velvet Strawberry Cheesecake! It’s not just a dessert; it’s a showstopper that combines the rich, velvety goodness of red velvet cake with a creamy cheesecake layer and fresh strawberries. Perfect for impressing guests or simply treating yourself after a long day, this recipe is a delightful way to bring a little joy to your table without spending hours in the kitchen.
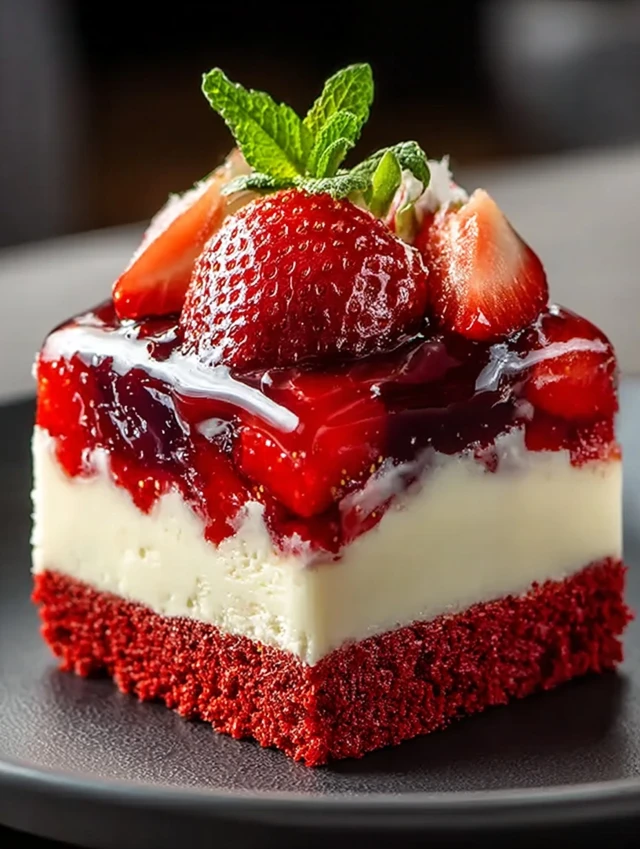
Why You’ll Love This Red Velvet Strawberry Cheesecake
This Red Velvet Strawberry Cheesecake is a dream come true for busy cooks like us! It’s surprisingly easy to make, yet it looks and tastes like a gourmet dessert. The vibrant red color and luscious strawberries make it visually stunning, while the creamy cheesecake layer adds a delightful richness. Plus, it’s perfect for any occasion, whether it’s a family gathering or a cozy night in. You’ll impress everyone without breaking a sweat!
Ingredients for Red Velvet Strawberry Cheesecake
Gathering the right ingredients is the first step to creating this stunning Red Velvet Strawberry Cheesecake. Here’s what you’ll need:
- All-purpose flour: This is the base of your cake, providing structure and texture.
- Granulated sugar: Sweetens the cake and cheesecake, balancing the flavors beautifully.
- Cocoa powder: Just a touch adds depth to the red velvet flavor without overpowering it.
- Baking powder and baking soda: These leavening agents help the cake rise, giving it that light, fluffy texture.
- Salt: A pinch enhances the sweetness and rounds out the flavors.
- Vegetable oil: Keeps the cake moist and tender, making each bite melt in your mouth.
- Buttermilk: Adds a tangy flavor and helps create a soft crumb in the cake.
- Egg: Acts as a binder, giving the cake structure and richness.
- Vanilla extract: A must-have for that warm, comforting flavor in both layers.
- Red food coloring: This is what gives the cake its signature vibrant hue. You can use gel or liquid, depending on what you have on hand.
- White vinegar: A secret ingredient that enhances the red color and adds a slight tang.
- Cream cheese: The star of the cheesecake layer, providing that creamy, dreamy texture.
- Fresh strawberries: These add a burst of freshness and a pop of color on top of your cheesecake.
- Strawberry preserves: A sweet topping that complements the fresh strawberries beautifully.
- Whipped cream: Optional, but who can resist a dollop of whipped cream on top?
For exact measurements, check the bottom of the article where you can find everything listed for easy printing. Happy baking!
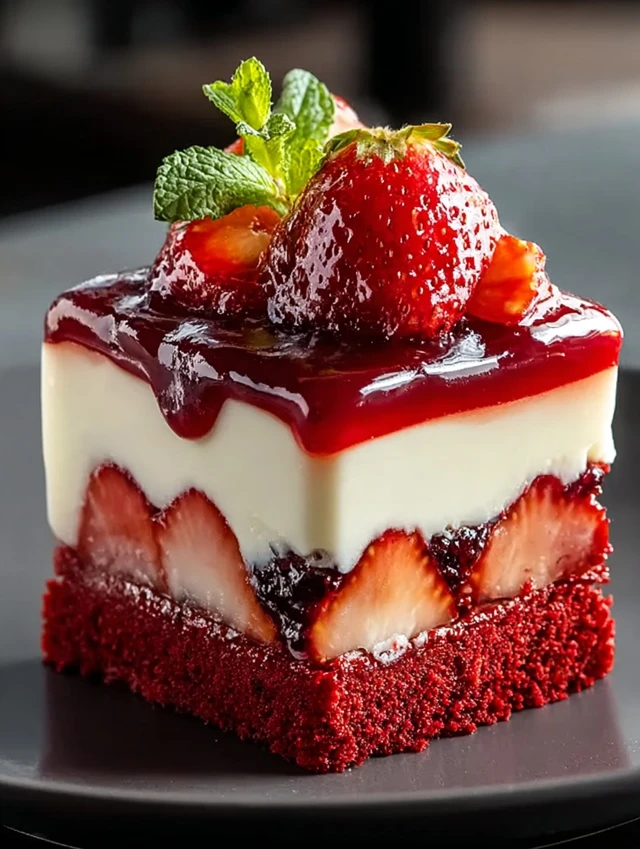
How to Make Red Velvet Strawberry Cheesecake
Step 1: Preheat and Prepare
First things first, let’s get that oven preheating to 350°F (175°C). While it warms up, grab your 9-inch springform pan and grease it well. This step is crucial to ensure your beautiful cheesecake comes out easily. I like to use a bit of butter or cooking spray. It’s like giving your cake a cozy little bed to rest in while it bakes. Trust me, you don’t want to wrestle with a stuck cheesecake later!
Step 2: Mix Dry Ingredients
In a large mixing bowl, combine your all-purpose flour, granulated sugar, cocoa powder, baking powder, baking soda, and salt. Whisk them together until they’re well blended. This is where the magic begins! The dry ingredients create the foundation for your cake. Make sure there are no lumps; we want a smooth batter. It’s like creating a canvas for your masterpiece. The rich cocoa powder will give your red velvet that signature flavor, so don’t skip it!
Step 3: Combine Wet Ingredients
In another bowl, mix together the vegetable oil, buttermilk, egg, vanilla extract, red food coloring, and white vinegar. Whisk until everything is well combined. The oil and buttermilk will keep your cake moist, while the red food coloring gives it that stunning hue. It’s like a burst of joy in a bowl! The vinegar is a little secret that enhances the red color, so don’t leave it out. This mixture is where the flavor really starts to shine!
Step 4: Combine Wet and Dry Mixtures
Now, it’s time to bring the two mixtures together! Gradually add the wet ingredients to the dry ingredients, stirring gently until everything is well combined. I like to use a spatula for this part; it helps fold the ingredients without overmixing. You want a smooth batter, but don’t worry if a few lumps remain. It’s all part of the charm! This is where the magic of the Red Velvet Strawberry Cheesecake truly begins to take shape.
Step 5: Bake the Red Velvet Layer
Pour the luscious red batter into your prepared springform pan. Spread it evenly with a spatula, making sure it’s nice and smooth on top. Pop it into the preheated oven and bake for 25-30 minutes. You’ll know it’s done when a toothpick inserted in the center comes out clean. The aroma wafting through your kitchen will be heavenly! Just imagine the anticipation as you wait for that beautiful red velvet layer to bake to perfection.
Step 6: Prepare the Cheesecake Layer
While the red velvet layer is baking, let’s whip up the cheesecake layer! In a mixing bowl, beat the softened cream cheese and sugar until it’s smooth and creamy. This is where the magic happens! Then, add the eggs and vanilla extract, mixing until everything is well combined. The cream cheese should be at room temperature for the best texture. You want it to be as smooth as silk, creating that dreamy cheesecake layer that will complement the red velvet perfectly.
Step 7: Combine Layers and Bake Again
Once the red velvet layer is baked and cooled for about 10 minutes, pour the cheesecake mixture over the top. Spread it evenly, making sure it covers the red velvet layer completely. Pop it back into the oven and bake for an additional 30-35 minutes. You’ll know it’s ready when the edges are set, but the center still has a slight jiggle. This is the moment when your Red Velvet Strawberry Cheesecake starts to look like a work of art!
Step 8: Cool and Refrigerate
After baking, let the cheesecake cool completely in the pan. This is crucial for the flavors to meld together. Once it’s cool, refrigerate it for at least 4 hours, or even better, overnight. This waiting game is worth it! The longer it chills, the more delicious it becomes. When you finally slice into it, you’ll be greeted with a creamy, dreamy cheesecake layered over that rich red velvet. It’s pure bliss!
Red Velvet Strawberry Cheesecake
A delicious and visually stunning dessert that combines the rich flavors of red velvet cake with a creamy cheesecake layer and fresh strawberries.
- Prep Time: 30 minutes
- Cook Time: 1 hour
- Total Time: 1 hour 30 minutes
- Yield: 8–10 servings 1x
- Category: Dessert
- Method: Baking
- Cuisine: American
- Diet: Vegetarian
Ingredients
- 1 1/4 cups all-purpose flour
- 1 cup granulated sugar
- 1 tablespoon cocoa powder
- 1/2 teaspoon baking powder
- 1/4 teaspoon baking soda
- 1/4 teaspoon salt
- 1/2 cup vegetable oil
- 1/2 cup buttermilk
- 1 large egg
- 1 teaspoon vanilla extract
- 1 tablespoon red food coloring
- 1/2 teaspoon white vinegar
- 16 oz cream cheese, softened
- 1/2 cup granulated sugar
- 2 large eggs
- 1 teaspoon vanilla extract
- 1 cup fresh strawberries, sliced
- 1/2 cup strawberry preserves
- Whipped cream for garnish
Instructions
- Preheat the oven to 350°F (175°C) and grease a 9-inch springform pan.
- In a large bowl, mix together the flour, sugar, cocoa powder, baking powder, baking soda, and salt.
- In another bowl, combine the vegetable oil, buttermilk, egg, vanilla extract, red food coloring, and vinegar.
- Gradually add the wet ingredients to the dry ingredients and mix until well combined.
- Pour the batter into the prepared springform pan and bake for 25-30 minutes or until a toothpick comes out clean.
- While the cake is baking, prepare the cheesecake layer by beating the softened cream cheese and sugar until smooth.
- Add the eggs and vanilla extract to the cream cheese mixture and mix until well combined.
- Once the cake is done, remove it from the oven and let it cool for 10 minutes before pouring the cheesecake layer on top.
- Bake the cheesecake layer for an additional 30-35 minutes or until set.
- Let the cheesecake cool completely, then refrigerate for at least 4 hours or overnight.
- Before serving, top with sliced strawberries and strawberry preserves, and garnish with whipped cream.
Notes
- Ensure the cream cheese is at room temperature for a smooth cheesecake layer.
- For a richer flavor, you can add a tablespoon of lemon juice to the cheesecake mixture.
- This dessert can be made a day in advance for better flavor.
Nutrition
- Serving Size: 1 slice
- Calories: 350
- Sugar: 25g
- Sodium: 200mg
- Fat: 20g
- Saturated Fat: 10g
- Unsaturated Fat: 5g
- Trans Fat: 0g
- Carbohydrates: 35g
- Fiber: 1g
- Protein: 5g
- Cholesterol: 80mg
Tips for Success
- Make sure your cream cheese is at room temperature for a smooth cheesecake layer.
- Don’t skip the chilling time; it enhances the flavors and texture.
- Use gel food coloring for a more vibrant red hue.
- For a fun twist, add a splash of lemon juice to the cheesecake mixture.
- Keep an eye on the baking time; ovens can vary!
Equipment Needed
- 9-inch springform pan: Essential for easy removal. A regular cake pan works too, but be careful when serving.
- Mixing bowls: Use two medium-sized bowls for mixing wet and dry ingredients.
- Whisk: Perfect for blending ingredients smoothly. A fork can work in a pinch!
- Spatula: Great for folding and spreading batter evenly.
- Toothpick: For testing doneness; a skewer can also do the trick!
Variations
- Gluten-Free: Substitute all-purpose flour with a gluten-free blend to make this dessert suitable for gluten-sensitive friends.
- Chocolate Lovers: Add chocolate chips to the cheesecake layer for an extra indulgent twist!
- Fruit Fusion: Swap strawberries for raspberries or blueberries for a different fruity flavor profile.
- Lower Sugar: Use a sugar substitute in both the cake and cheesecake layers to reduce sweetness without sacrificing flavor.
- Vegan Option: Replace eggs with flax eggs and use vegan cream cheese for a plant-based version of this delightful dessert.
Serving Suggestions
- Pair with a scoop of vanilla ice cream for a delightful contrast in temperature and texture.
- Serve alongside a fresh fruit salad to enhance the fruity flavors of the cheesecake.
- Drizzle with chocolate sauce for an indulgent touch.
- Garnish with mint leaves for a pop of color and freshness.
- Enjoy with a cup of coffee or tea to balance the sweetness.
FAQs about Red Velvet Strawberry Cheesecake
As you embark on your baking adventure with this Red Velvet Strawberry Cheesecake, you might have a few questions. Here are some common queries I’ve encountered, along with helpful answers to guide you along the way!
Can I make this cheesecake ahead of time?
Absolutely! In fact, making it a day in advance enhances the flavors. Just be sure to refrigerate it properly to keep it fresh.
What can I use instead of buttermilk?
If you don’t have buttermilk on hand, you can easily make a substitute. Just mix one cup of milk with a tablespoon of vinegar or lemon juice. Let it sit for about 5 minutes, and you’re good to go!
How do I store leftovers?
Store any leftover cheesecake in an airtight container in the refrigerator. It should stay fresh for up to 5 days, but I doubt it will last that long!
Can I freeze Red Velvet Strawberry Cheesecake?
Yes, you can freeze it! Just wrap individual slices tightly in plastic wrap and then in aluminum foil. It can last up to 2 months in the freezer. Thaw it in the fridge before serving.
What can I use instead of cream cheese?
If you’re looking for a lighter option, you can use Greek yogurt or a vegan cream cheese alternative. Just keep in mind that the texture and flavor may vary slightly.
Final Thoughts
Creating this Red Velvet Strawberry Cheesecake is more than just baking; it’s about crafting a moment of joy for yourself and your loved ones. The vibrant colors and rich flavors come together to create a dessert that’s not only delicious but also visually stunning. Each slice is a celebration, perfect for birthdays, holidays, or simply a sweet treat after a long day. I hope this recipe brings as much happiness to your kitchen as it has to mine. So, roll up your sleeves, embrace the process, and enjoy every delightful bite of this gorgeous cheesecake!