
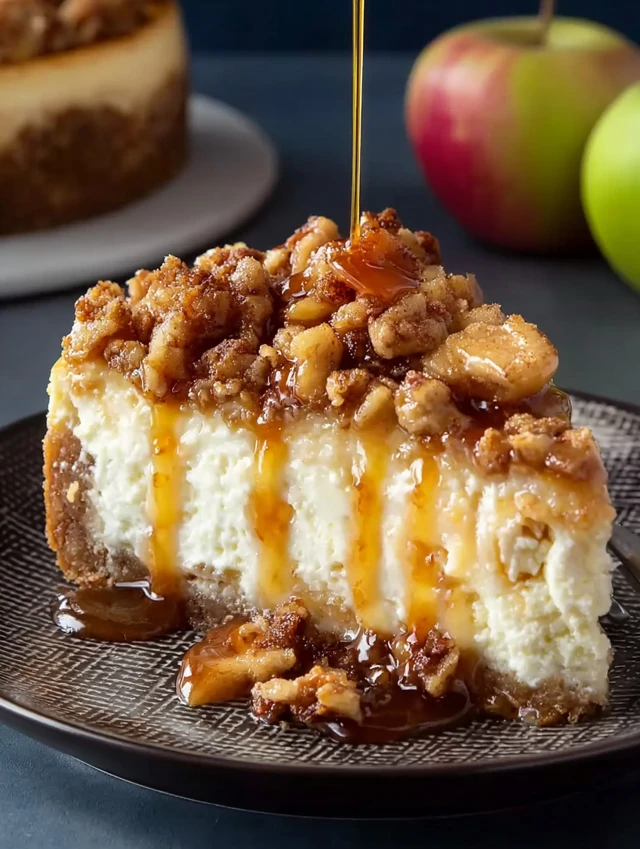
As a busy mom, I know how precious time can be, especially when it comes to whipping up something special in the kitchen. That’s why I absolutely adore this Apple Crisp Cheesecake! It’s the perfect blend of creamy cheesecake and sweet apple crisp, making it a delightful treat for any occasion. Whether you’re looking to impress guests or simply want to indulge your family, this dessert is a quick solution that brings smiles all around. Trust me, once you try it, you’ll find yourself making it again and again!
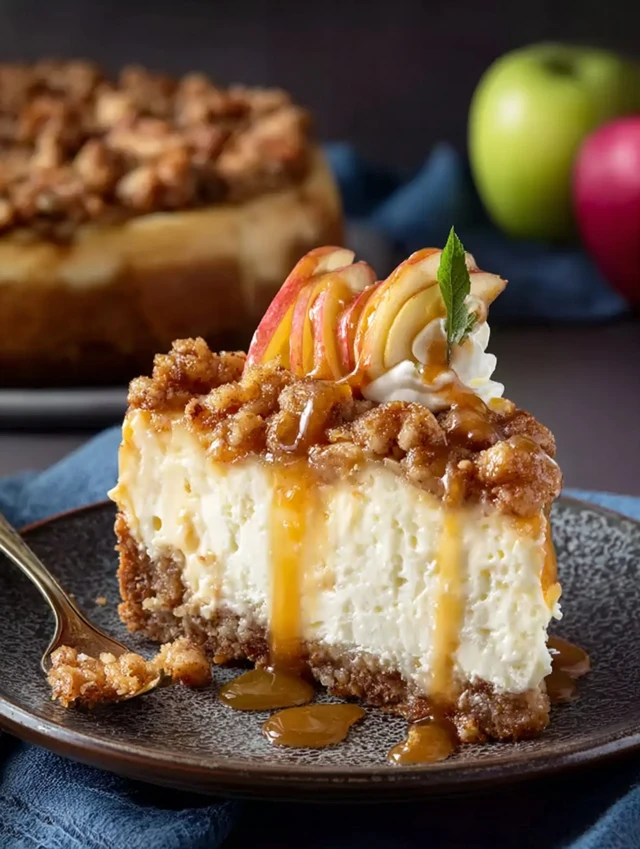
Why You’ll Love This Apple Crisp Cheesecake
This Apple Crisp Cheesecake is a dream come true for busy lives. It combines the rich, creamy texture of cheesecake with the warm, comforting flavors of apple crisp. Plus, it’s surprisingly easy to make! With just a few simple steps, you can create a dessert that looks and tastes like it came from a fancy bakery. Your family will be begging for seconds, and you’ll love how quickly it comes together!
Ingredients for Apple Crisp Cheesecake
Gathering the right ingredients is the first step to creating your delicious Apple Crisp Cheesecake. Here’s what you’ll need:
- Graham cracker crumbs: These form the base of your crust, providing a sweet and crunchy texture.
- Granulated sugar: A touch of sweetness for both the crust and the filling, balancing the flavors beautifully.
- Melted butter: This helps bind the crust together, giving it that rich, buttery flavor.
- Cream cheese: The star of the show! It creates the creamy filling that makes cheesecake so irresistible.
- Plain Greek yogurt (or sour cream): Adds a tangy flavor and creaminess to the filling. Greek yogurt is a healthier option!
- Vanilla: A splash of vanilla extract enhances the overall flavor, making it even more delightful.
- Eggs: These are essential for binding the filling together, giving it that perfect cheesecake texture.
- Apples: Fresh, peeled, and sliced apples bring that classic apple crisp flavor. Choose your favorite variety!
- Cinnamon: This warm spice adds a cozy aroma and flavor, making your cheesecake feel like a hug in dessert form.
- All-purpose flour: Used in the crumble topping, it helps create that perfect texture.
- Rolled oats: These add a hearty crunch to the crumble, making it even more satisfying.
- Brown sugar: This gives the crumble a deeper sweetness and a hint of molasses flavor.
- Salted caramel sauce: Optional, but highly recommended! Drizzling this on top takes your cheesecake to the next level.
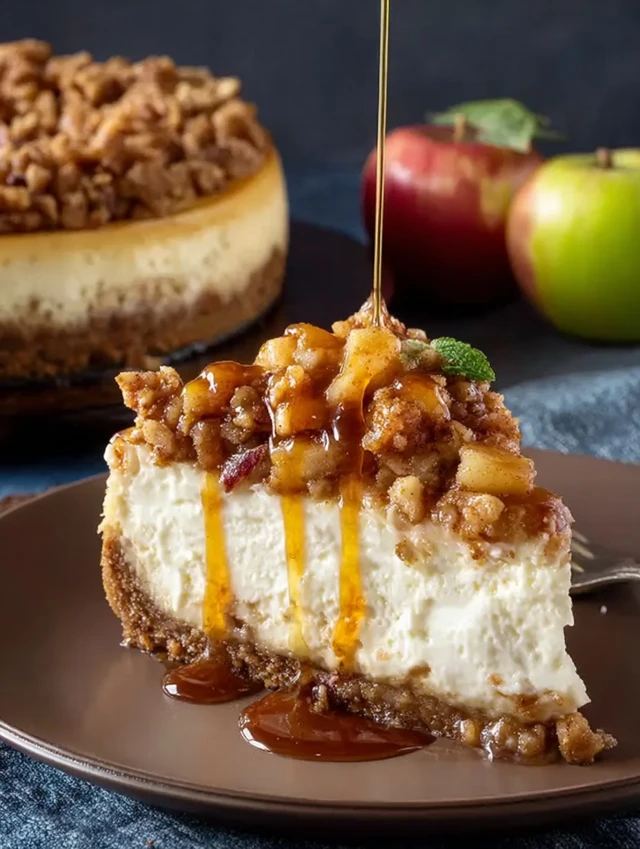
For exact measurements, check the bottom of the article where you can find everything listed for easy printing. Happy baking!
How to Make Apple Crisp Cheesecake
Now that you have all your ingredients ready, let’s dive into the fun part—making your Apple Crisp Cheesecake! Follow these simple steps, and you’ll have a dessert that’s sure to impress.
Step 1: Preheat the Oven
First things first, preheat your oven to 325°F (160°C). Preheating is crucial because it ensures even baking. If you skip this step, your cheesecake might not set properly, and we definitely want a perfectly creamy texture!
Step 2: Prepare the Crust
In a mixing bowl, combine your graham cracker crumbs, granulated sugar, and melted butter. Mix until everything is well combined and resembles wet sand. Now, press this mixture firmly into the bottom of a springform pan. This will create a solid base for your cheesecake, so make sure it’s packed tightly!
Step 3: Make the Cheesecake Filling
In a large mixing bowl, beat the softened cream cheese until it’s smooth and creamy. Then, add the Greek yogurt, granulated sugar, and vanilla extract. Mix until everything is well blended. Next, add the eggs one at a time, mixing well after each addition. This will give your cheesecake that rich, velvety texture we all love!
Step 4: Prepare the Apples
In another bowl, toss your sliced apples with granulated sugar and cinnamon. This step is key! It enhances the flavor of the apples, making them sweet and aromatic. You want those apples to shine in your cheesecake!
Step 5: Layer the Cheesecake
Now it’s time to layer! Pour half of the cheesecake batter over the crust. Then, add the apple mixture on top, spreading it evenly. Finally, pour the remaining cheesecake batter over the apples. This layering creates a beautiful presentation and ensures every bite is delicious!
Step 6: Create the Crumble Topping
In a separate bowl, mix together the flour, rolled oats, brown sugar, and cinnamon. Stir in the melted butter until the mixture is crumbly. This crumble topping adds a delightful crunch to your cheesecake. Sprinkle it generously over the top of the cheesecake batter.
Step 7: Bake the Cheesecake
Place your cheesecake in the preheated oven and bake for 60-70 minutes. Keep an eye on it! The center should be set but still slightly jiggly. If you overbake, it can crack, and we want a smooth finish. A toothpick inserted in the center should come out clean.
Step 8: Cool and Serve
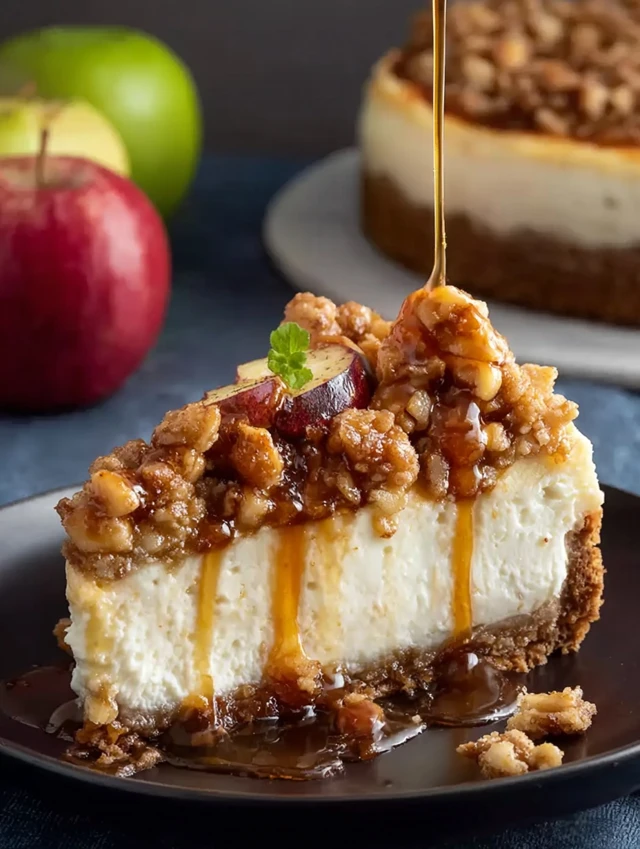
Once baked, let your cheesecake cool in the pan for about an hour. Then, carefully remove it from the springform pan and let it cool completely in the fridge. This cooling time is essential for the best texture. When you’re ready to serve, drizzle with salted caramel sauce for that extra touch of sweetness!
PrintApple Crisp Cheesecake
A delicious blend of creamy cheesecake and sweet apple crisp, topped with a buttery crumble and drizzled with caramel sauce.
- Prep Time: 30 minutes
- Cook Time: 70 minutes
- Total Time: 1 hour 40 minutes
- Yield: 12 servings 1x
- Category: Dessert
- Method: Baking
- Cuisine: American
- Diet: Vegetarian
Ingredients
- 1 1/2 cups graham cracker crumbs
- 1 tablespoon granulated sugar
- 1/4 cup melted butter
- 3 packages (24oz, 750g) cream cheese, softened
- 2 cups plain Greek yogurt (or sour cream)
- 1 1/4 cups granulated sugar
- 2 teaspoons vanilla
- 4 large eggs
- 3 cups peeled, sliced apples (about 3)
- 1/4 cup granulated sugar
- 1 teaspoon cinnamon
- 1/4 cup all purpose flour
- 1/2 cup rolled oats
- 1/4 cup brown sugar
- 1 teaspoon cinnamon
- 1/4 cup melted butter
- Salted caramel sauce (or regular caramel sauce, optional)
Instructions
- Preheat the oven to 325°F (160°C).
- In a bowl, mix graham cracker crumbs, granulated sugar, and melted butter. Press the mixture into the bottom of a springform pan to form the crust.
- In a large mixing bowl, beat the softened cream cheese until smooth. Add Greek yogurt, granulated sugar, and vanilla, mixing until well combined.
- Add eggs one at a time, mixing well after each addition.
- In another bowl, toss the sliced apples with granulated sugar and cinnamon.
- Pour half of the cheesecake batter over the crust, then layer the apples on top. Pour the remaining cheesecake batter over the apples.
- In a separate bowl, combine flour, rolled oats, brown sugar, and cinnamon. Stir in melted butter until crumbly. Sprinkle the crumble mixture over the cheesecake.
- Bake for 60-70 minutes or until the center is set. Let it cool before removing from the springform pan.
- Serve with salted caramel sauce if desired.
Notes
- Make sure the cream cheese is softened for easier mixing.
- For a richer flavor, use sour cream instead of Greek yogurt.
- Let the cheesecake cool completely before slicing for best results.
Nutrition
- Serving Size: 1 slice
- Calories: 350
- Sugar: 25g
- Sodium: 200mg
- Fat: 20g
- Saturated Fat: 10g
- Unsaturated Fat: 5g
- Trans Fat: 0g
- Carbohydrates: 35g
- Fiber: 2g
- Protein: 5g
- Cholesterol: 80mg
Tips for Success
- Make sure your cream cheese is at room temperature for easy mixing.
- Don’t skip the cooling time; it helps the cheesecake set perfectly.
- Use a sharp knife to slice for clean edges.
- For a fun twist, try adding nuts to the crumble topping.
- Store leftovers in the fridge for up to five days—if there are any!
Equipment Needed
- Springform pan: Essential for easy removal. A regular cake pan works too, but slicing will be trickier.
- Mixing bowls: Use a large bowl for the filling and a smaller one for the crumble.
- Electric mixer: Makes beating the cream cheese a breeze. A whisk can work, but it’ll take longer.
- Spatula: Perfect for scraping down the sides of the bowl and layering the batter.
Variations of Apple Crisp Cheesecake
- Nutty Delight: Add chopped walnuts or pecans to the crumble topping for an extra crunch and flavor.
- Spiced Up: Experiment with different spices like nutmeg or allspice in the apple mixture for a unique twist.
- Caramel Apple: Mix in some caramel sauce with the apples before layering for a gooey, sweet surprise.
- Gluten-Free: Substitute graham cracker crumbs with gluten-free cookies or almond flour for a gluten-free version.
- Vegan Option: Use vegan cream cheese and a flaxseed mixture instead of eggs for a plant-based alternative.
Serving Suggestions for Apple Crisp Cheesecake
- Pair with Coffee: A warm cup of coffee or tea complements the rich flavors beautifully.
- Fresh Whipped Cream: Top each slice with a dollop of whipped cream for added creaminess.
- Fruit Garnish: Serve with fresh apple slices or berries for a pop of color.
- Presentation: Drizzle caramel sauce artistically on the plate for an elegant touch.
FAQs about Apple Crisp Cheesecake
As you embark on your Apple Crisp Cheesecake journey, you might have a few questions. Here are some common queries that can help you along the way:
Can I use different types of apples for this cheesecake?
Absolutely! While I love using Granny Smith apples for their tartness, you can mix and match your favorites. Honeycrisp or Fuji apples add a nice sweetness, too!
How do I store leftovers?
Store any leftover cheesecake in an airtight container in the fridge. It should stay fresh for up to five days. Just make sure to let it cool completely before storing!
Can I freeze Apple Crisp Cheesecake?
Yes, you can! Wrap individual slices tightly in plastic wrap and then place them in a freezer-safe container. They can last up to three months in the freezer. Just thaw in the fridge before serving.
What can I substitute for cream cheese?
If you’re looking for a lighter option, you can use ricotta cheese or a vegan cream cheese alternative. Just keep in mind that the texture and flavor may vary slightly.
Can I make this cheesecake ahead of time?
Definitely! This Apple Crisp Cheesecake is perfect for making a day in advance. Just let it chill overnight in the fridge for the best flavor and texture.
Final Thoughts
Creating this Apple Crisp Cheesecake is more than just baking; it’s about bringing joy to your kitchen and your loved ones. The delightful combination of creamy cheesecake and sweet apple crisp is sure to warm hearts and create lasting memories. Whether it’s a family gathering or a cozy night in, this dessert is a showstopper that will have everyone asking for the recipe. Plus, the ease of preparation means you can spend less time in the kitchen and more time enjoying the moments that matter. So, roll up your sleeves and let the baking adventure begin!